Bulk import from a spreadsheet
This page is for office admins (GeneralAdmin and SuperAdmin) who need to move an existing paper or spreadsheet register into SBDMS. Instead of typing each family into the registration form, you upload one CSV file and the system creates the records.
When to use it
Section titled “When to use it”Use bulk import when you have hundreds or thousands of children already on record somewhere else, and you have at least a name, date of birth, guardian name and guardian phone for each. It is the right tool for a one-time migration or for adding a whole district’s paper register.
Do not use it for a school or children’s home that is coming to a camp as a group. That is a different flow with its own page; see Schools and children’s homes.
Children created by bulk import start as Self Registered. They still need to be verified at a camp before they can be dosed. See Verifying a registration.
Opening the page
Section titled “Opening the page”Open the Admin menu in the header and choose Data Import. The link only appears for GeneralAdmin and SuperAdmin; other roles who reach the page are sent back to the dashboard.
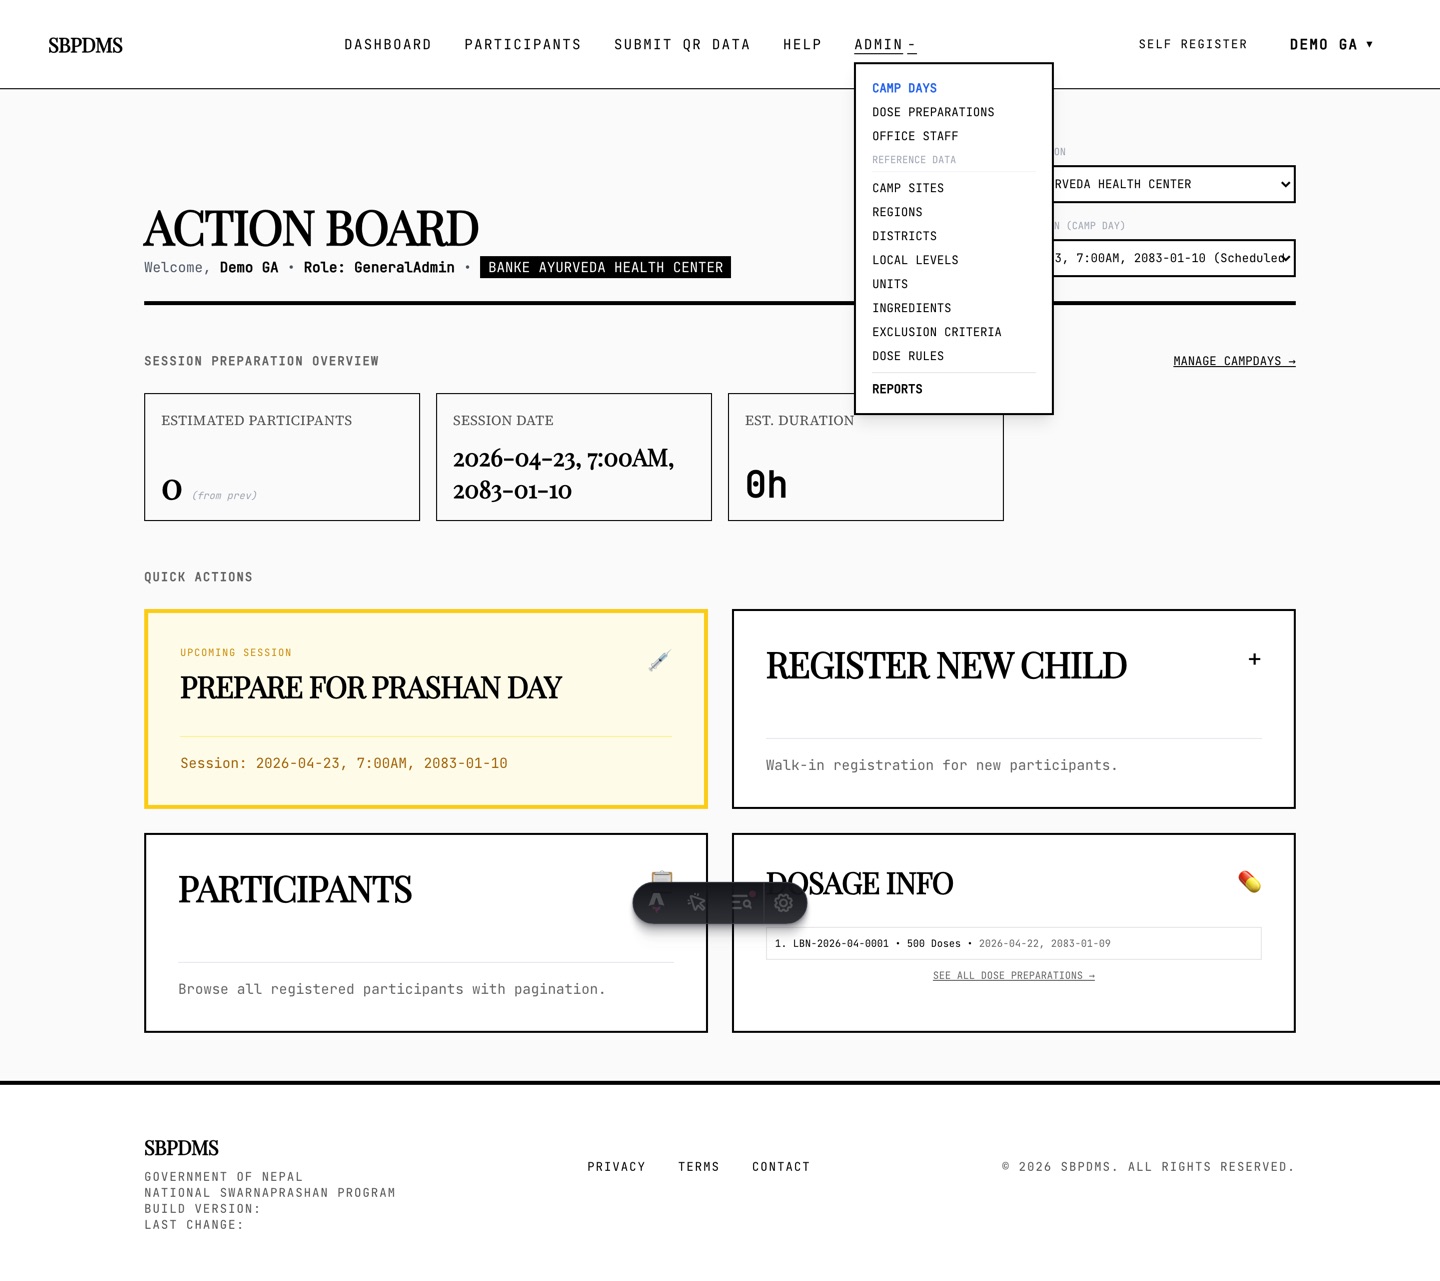 Data Import sits near the bottom of the Admin menu, under Reports.
The page is called Data Import and has two tabs: Participants (children and their guardians) and Staff. This page is about Participants; the Staff tab is described briefly at the end.
The file format
Section titled “The file format”The file must be a CSV (comma-separated values) with a header row. Save from Excel with “CSV UTF-8”. Only .csv is accepted here; an .xlsx file must be saved as CSV first.
Click Download Participants Template to get a sample file with the right header and two example rows. The columns are:
| Column | Required | Accepted values |
|---|---|---|
ChildName |
Yes | Free text. |
ChildGender |
No | Male, Female, Other. Blank becomes Unknown. |
ChildDob |
Yes | A date in one of: 2022-04-15, 2022/04/15, 15-04-2022, 15/04/2022, 04/15/2022. AD dates only; convert BS dates before uploading. |
GuardianName |
Yes | Free text. |
GuardianPhone |
Yes | The guardian’s mobile number. |
GuardianRelation |
No | Father, Mother and so on. Blank becomes Guardian. |
Wrap a value in double quotes if it contains a comma. The maximum is 10,000 rows per file; a bigger file is refused with More than 10000 rows — split the upload.
Row numbers in messages count the header as row 1, so the first data row is row 2, the same as the line number in Excel.
Step 1: upload and preview
Section titled “Step 1: upload and preview”- Under Get the template & upload, click Choose CSV file and pick your file. Its name appears with a clear link if you picked the wrong one.
- Click Preview Import →. Nothing is written yet. The server reads every row and decides what it would do with each one.
Step 2: review
Section titled “Step 2: review”The Review section shows five tiles: Rows read, Will create, Will update, Conflicts and Errors, and a line saying how many records will be imported.
Every row is classified in one of four ways:
| Badge | Meaning | What happens on import |
|---|---|---|
| Create | A new child. If the guardian’s name and phone already exist, the child is linked to that guardian; otherwise a new guardian is created too. | Created. Not listed one by one; only counted. |
| Update | A child with the same name and date of birth already exists under the same guardian. | The existing child’s gender is updated. Nothing is duplicated. |
| duplicate name dob (conflict) | A child with the same name and date of birth exists under a different guardian. | Imported as a new child unless you skip the row. |
| duplicate phone (conflict) | The phone number already belongs to a guardian with a different name. | Imported as a new guardian and child unless you skip the row. |
| Error | Missing ChildName, GuardianName or GuardianPhone, or a ChildDob that cannot be read. |
Always excluded. Fix the file and upload again. |
Under Rows needing attention each update, conflict and error row is listed with its row number, a one-line summary (child, guardian and phone) and the reason. Tick Skip on any update or conflict row you do not want imported. Skip all conflicts ticks every conflict at once. Error rows show Excluded and cannot be un-skipped.
Why are conflicts imported by default? A real family can share a phone with a relative, and two children can share a name and birthday. The system flags the row so you can decide, but does not throw it away.
Step 3: import
Section titled “Step 3: import”- Click Import N record(s). The count matches what the review promised.
- The import runs in the background. A progress bar shows Importing… please wait and a counter such as
340 / 1000. Tiles show Created, Updated, Skipped and Failed as they grow. - When the bar completes, the title becomes Import complete, and a message summarises how many were created and updated.
- If some rows failed while writing, a Row errors box lists them with their row numbers.
- Click Import another file to start again, or Start over before importing to discard the preview.
Do not close the tab while it is running. The job keeps going on the server, but you will lose the progress view.
Running the same file twice
Section titled “Running the same file twice”The importer identifies a guardian by name and phone, and a child by name and date of birth under that guardian. Uploading the same file again therefore shows every row as Update and creates nothing. This makes it safe to re-run after fixing a few error rows: the good rows update in place and only the fixed rows are new.
What the imported records look like
Section titled “What the imported records look like”- Each new child and guardian gets a fresh UPC in the usual
ABCD-1234shape, so QR cards can be printed from their profiles. - Children are Self Registered and have no preferred camp site. Staff pick the site when they verify.
- Imported children appear in the Registrations & verifications report under Admin → Reports. There is no separate import-history screen in the web app; the preview and progress screens are the record of each run, so note the file name and date yourself if you need a log.
The Staff tab
Section titled “The Staff tab”The Staff tab imports office staff the same way, with its own Download Staff Template. Columns are Name, NepName, Designation, Gender, Phone, Username, Password, Role, Email, CampSites and LoginEnabled. Only GeneralUser and LocationAdmin roles can be imported. CampSites is a ;-separated list where each entry must match a camp site’s exact name, Nepali name or code as shown under Admin → Camp Sites; anything that does not match is reported as a row error so nobody is assigned to the wrong place. A Password is required when a new Username is given. Existing staff are matched by username and updated.