Verifying a registration (staff)
This page is for health workers (GeneralUser), site admins (LocationAdmin) and office admins who verify children at a camp. Verification turns a Self Registered child into a Verified child, which is the only status the normal Prashan page will dose.
Who can verify
Section titled “Who can verify”- GeneralUser and LocationAdmin can verify a child whose preferred camp site is one of their assigned sites.
- GeneralAdmin and SuperAdmin can verify any child at any site.
You must be signed in. If you open a verification link while signed out, the site sends you to the login page and back again afterwards.
Two ways to start
Section titled “Two ways to start”From the child’s profile
Section titled “From the child’s profile”- Open the child’s profile (search on Participants by name, phone or UPC, or scan their QR card).
- Click Verify Registration in the row of buttons next to the name. The button only appears while the status badge says Self Registered.
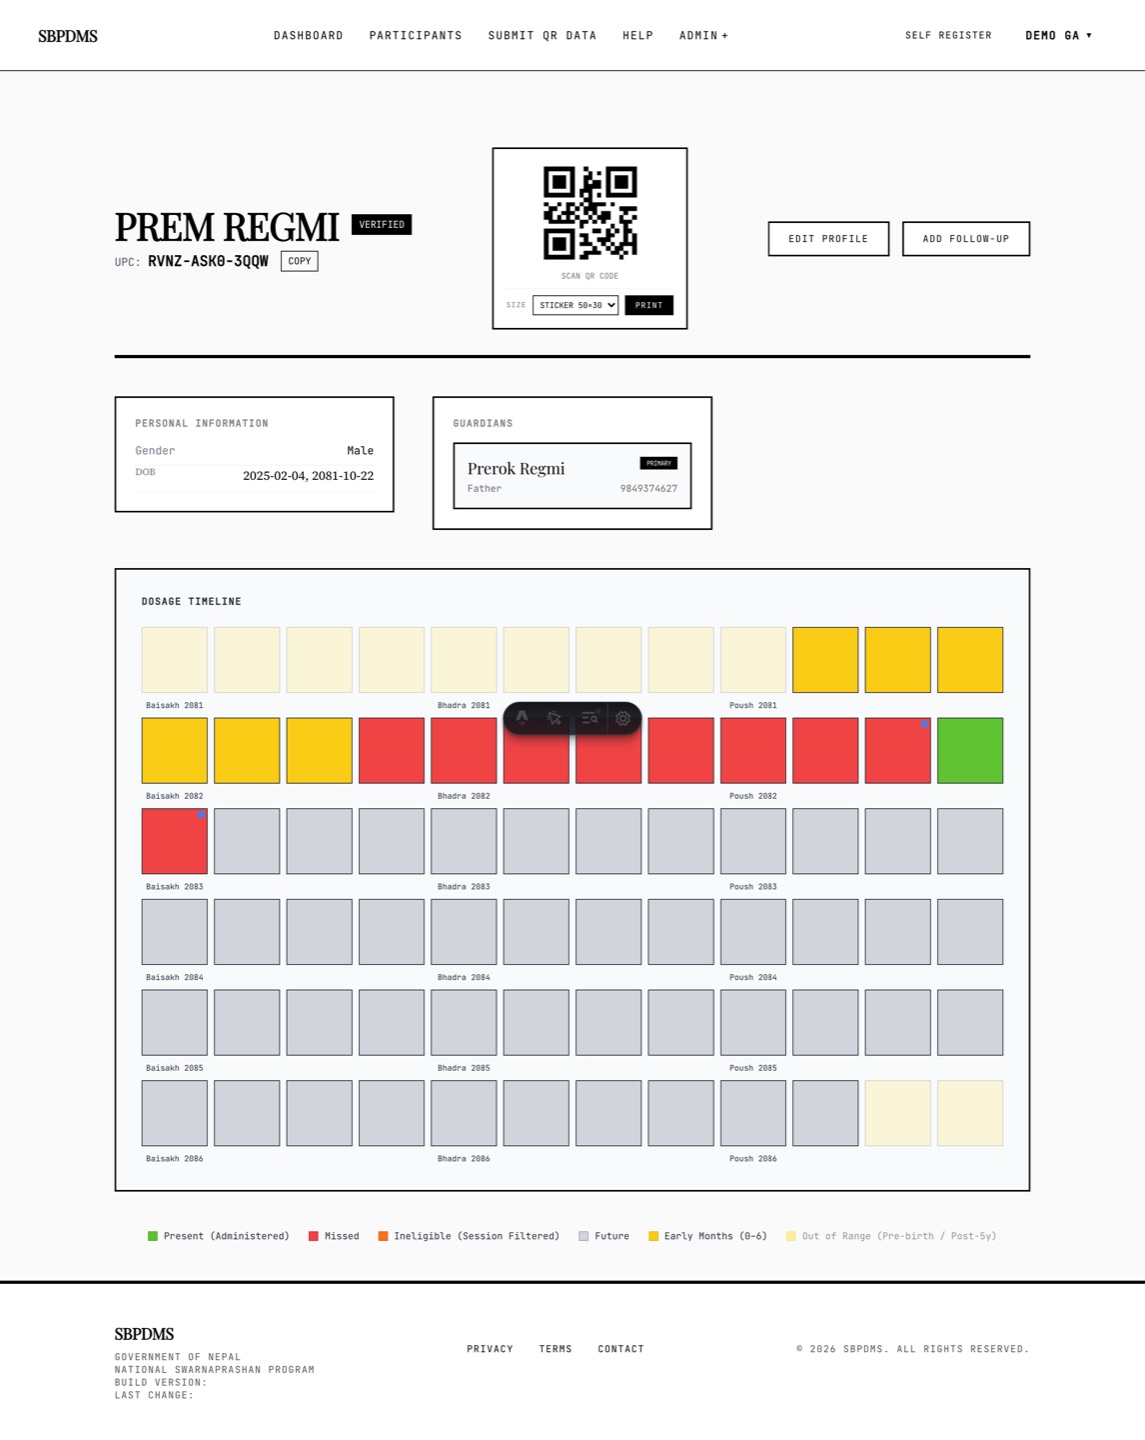 The status badge sits next to the child’s name. Verify Registration shows only for a Self Registered child.
From the Prashan page
Section titled “From the Prashan page”If you pick a Self Registered child on the Prashan-day page, a red box says Registration Not Verified and offers Go to Verify Registration. Clicking it opens the same verification form. Cancel & Return to Intake takes you back.
Both routes open the registration form at /register?verify=<child id> in verification mode.
The verification form
Section titled “The verification form”The heading changes to Verify Registration. Every field is filled in from the existing record: the guardian, the address, and every child linked to that guardian. Go through it with the family:
- Ask the guardian to confirm their name and Phone 1. A guardian without a phone number cannot be verified; the server refuses with This guardian has no phone number on file. Add one before verifying. Add the number in the form first.
- Check each child’s name, gender and date of birth. Fix anything that is wrong; your corrections are saved when you submit.
- Check Medical History and Prior Doses. If the family brought a paper record, enter the count and its source here.
- Check Verifying at Campsite. This is the site the verification is recorded against. It is set to your first assigned camp site automatically. Change it only if you are working at another site.
- Tick All information has been verified. The form will not submit without it.
- Click Submit Verification, then confirm in the Confirm Submission box.
On success the screen says Verification Successful and shows the QR cards with Go To Profile links. Print or download cards here if the family has none.
The preferred-site warning
Section titled “The preferred-site warning”Each child has a Preferred Campsite chosen at registration. When the form opens in verification mode and that site is different from the site in Verifying at Campsite, a red box appears:
This child’s preferred site is “A”. You’re verifying at “B”. Do you want to proceed?
- Proceed keeps your site. The child will be verified at your site, and their preferred site is moved to your site too. Pressing Escape does the same as Proceed.
- Change site closes the box and puts the cursor in the Verifying at Campsite field so you can pick the family’s site instead.
Either way, the decision is written to a log with the child, both sites, the final site and your name, so an admin can review cross-site verifications later. The warning never blocks you; it only makes sure the mismatch is a choice, not an accident.
Registering and verifying at the desk
Section titled “Registering and verifying at the desk”When a family arrives on camp day with no prior registration, you do not need two passes. Open Self Register while signed in and fill in the form as described in Self-registration. A yellow Staff — Verification box appears above the submit button:
- Tick I have verified this information — register & verify now. The button changes to Register & Verify and the child is created already Verified, at your first assigned camp site (or the preferred site you chose, if you have no assigned site).
- Leave it unticked to register only. The child is Self Registered and can be verified later.
The success screen for the shortcut reads Registered & Verified with a green Verified at registration line.
What changes on the child record
Section titled “What changes on the child record”On submit the server updates the child in one step:
| Field | New value |
|---|---|
| Status | Verified |
| VerifiedBy | Your staff name |
| VerifiedAt | The current date and time |
| VerifiedAtCampSiteId | The site in Verifying at Campsite |
| PreferredCampSiteId | Moved to the same site (an empty site never wipes an existing preference) |
Name, gender, date of birth, medical history and prior doses are saved from the form at the same time. An audit-log row of type Verify records the before and after values. If a site you are not assigned to is sent, the server answers You are not assigned to the selected campsite. and nothing changes.
Afterwards the profile shows a black Verified badge and a green at badge naming the camp site. The Registrations & verifications report under Admin → Reports lists who registered and who verified each child, and when.
Fixing a wrong verification site
Section titled “Fixing a wrong verification site”GeneralAdmin and SuperAdmin see a Change Verification Campsite button on a child’s profile. It opens a small dialog with a New campsite list and Save. Use it when a child was verified at the wrong site. The change is audited. Other roles should ask an admin.
Rules to remember
Section titled “Rules to remember”- A child must be Verified before they can be dosed on the normal Prashan page. Org Verified children from a school list are dosed from the Org Prashan page instead; see Schools and children’s homes.
- Verification is a one-time step. Once done, the Verify Registration button disappears.
- Verifying does not create a dose. The family still goes through screening on the Prashan page.